Sometimes when I am stumped on a project I let it simmer while my brain works out a solution. Often an I will wake up later with the fix spontaneously presented in my mind. I call these my “fever dreams.” It has been a highly successful strategy for me over time. Hope my brain keeps it up because one of these fever dreams presented the solution to the frame repair.
After thinking about the frame for a few days, The Queen and I decided that we needed to get it fixed if we could. She likes the frame and the attachment I have with it. With that out of the way, I was able to move on to the more serious issues. The defect around the previous repair seemed simple because I could just expand on the first fix. The paper thin edge, however, bothered me. I considered gluing an “L” shaped piece of heavy brown paper but that did not seem permanent enough. The fever dream said I should glue in a veneer strip as a backing to the thin wood. But the best part of this idea was how. Instead of starting with a thin strip, I would start with a substantial 1/8″ strip which would be stiff enough to hold things firmly. Then I could carefully plane it thinner so it would match up with the adjacent rabbets. I decided to use cherry because I had some, it is strong, it is easy to plane and the color match would be spot on. I cut a thin veneer on the bandsaw and glued it on the broken frame side. The previous patch is clearly visible in the picture.
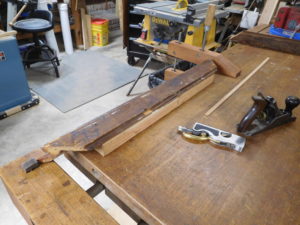
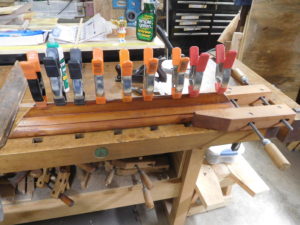
It was barely proud of the inside edge.
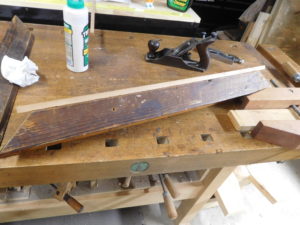
After cutting the corner miters, I used my medium Lie Nielsen shoulder plane to trim it flush.
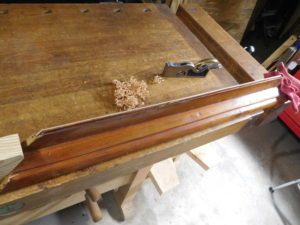
The last task was to reduce the thickness. It took some special blocking along with a shoprag to present the odd shaped piece for the plane work.
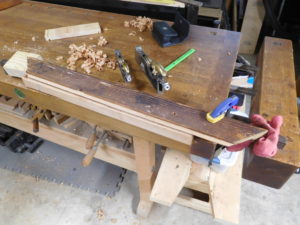
I was able to reduce its thickness by about a half so it would match the other pieces.
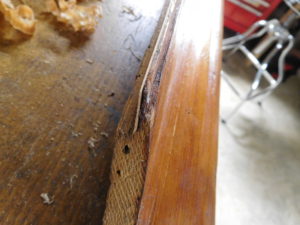
And then it was time to go over to the front side. Remember that there was a missing splinter from the area of a previous repair.
Fixing this was a different challenge because I had to match the ancient heart pine. But I had an ace in the hole–a heart pine shelf from my dad’s first workshop. It provided a splinter that was a perfect match. Here is the defect.
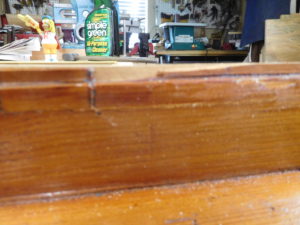
Here is the donor board.
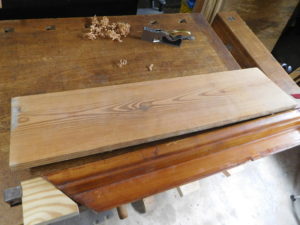
And here is the splinter.
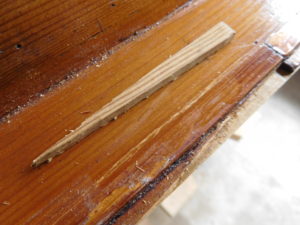
I glued the splinter in place and then carefully planed it to shape. That should look just fine after staining and finishing.
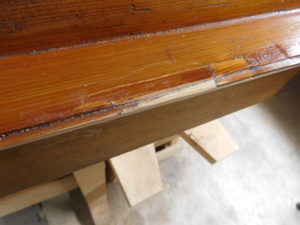
So things are moving on with the frame. My next task was to put it all back together. But I did not want to pound more nails into the fragile wood. Will Mamma’s frame really get fixed. How? Stay tuned.