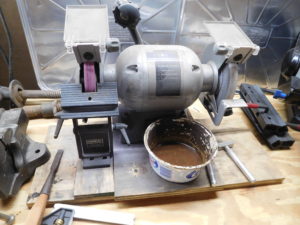
Every serious woodworker should own a grinder because it makes working with wood so much more enjoyable. When you purchase your grinder, you will probably have to change the wheels because most grinders are shipped with inexpensive gray wheels. They are good for rough work and for sharpening garden tools but are of very little use when it comes to sharpening your good woodworking chisels and plane blades. I use a 6″ grinder with a coarse white wheel and a fine pink wheel.
Let’s talk a litte about steel. Most woodworking edge tools are made with O-1 steel. It is a high carbon steel that is tough and has good edge retention. Making a steel edge tool requires three metallurgical processes–annealing, hardening, and tempering. After the steel is made, it is processed into a suitable form. This initial processing is easier if the steel is uniformly soft so it is heated to its non magnetic point (approximately 1400 F degrees) and is allowed to cool slowly. After its initial shaping, the steel is hardened by heating it to its non magnetic point again but then cooling abruptly by quenching. O-1 steel is quenched in oil. W-1 steel can take more shock and is quenched in salt water. The hardening process makes the steel brittle and prone to cracking so it is tempered. The tempering process moderates the hardness and makes the steel less brittle.
So why is this so freeking important, you ask? Well it is important because O-1 steel is tempered by heating it up to 400-500 degrees and letting it cool slowly. And it is easy to reach those temperatures and higher temperatures on a grinder. The steel changes color at about 400 degrees and goes from straw brown to blue as the temperature increases. When the steel is cooled, it will retain this NEW tempering. The hotter you get the steel, the softer it will be when you are finished. So you should WATCH THE TEMPERATURE when you are grinding. And you should have a quench trough. I use a Cool Whip container and dunk the steel edge when it gets hot to the touch. Remember your physics–water boils at 212 degrees. If you grind and quench your blade and see steam, you have gone past 212 and are in dangerous territory. So quench frequently and make sure you do not make the blade hiss with steam.
Here is another tip. Heat is transferred quickly through the steel from the hot edge as long as there is enough mass to transfer the heat. But heat tends to build up on the small triangle shaped cutting edge. This thin edge will get much hotter than the surrounding steel and it is the important cutting area. Quench often.
Your grinder and its wheels need to be in good condition. That means that the wheels should be dressed. Dressing removes bits of steel and grinding dust while also exposing nice sharp cutting media. Get a wheel dresser and use it often because clean wheels grind with much less friction and heat. I like the inexpensive diamond tee dressers and I move it from side to side while maintaining a right angle to the wheel.
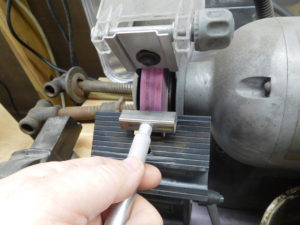
Once the wheel is clean, it is ready to go. Our first task, however, is on the white wheel. The edge of our chisel is rounded and first needs to be squared. Remember our earlier talk about heat buildup? It is important here because squaring an edge is ALWAYS done at 90 degrees. NEVER try to square up an edge by grinding a new bevel. It is a waste of steel and heats the cutting edge too much. Grind at 90 degrees and use a square to check your results.
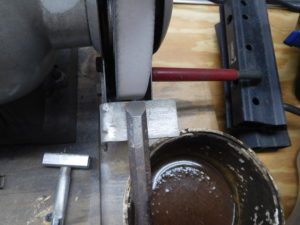
I had a slight problem squaring this chisel because the sides are not parallel. So I just eyeballed the square and hit the middle.
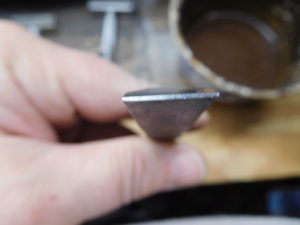
The pink wheel quickly put a bevel back on the edge.
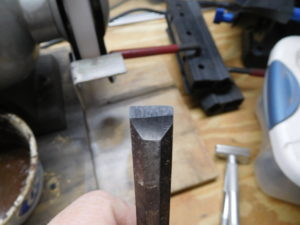
The new bevel looks a little wonky but it is really OK. If you have read this far, you are probably still interested enough to go on to part III where we hone the edge and take the chisel on a test drive. See you there.