Life gets in the way and limits the amount of time I have to post. Sorry for the lack of copy lately. But for you faithful readers, here is a review of my latest shop project. Working in a garage shop does present challenges–especially if the craftsman tends to accumulate tools and wood. My hoarding tendencies and my previous lack of time conspired to create a disorganized workspace that will take some time to correct. I am working diligently on that project now that I have the time and energy. Each area of my shop gets focus and an improvement plan. The latest area is the space designated parking space for car #2. As an out of the way spot, it was a clutter destination.
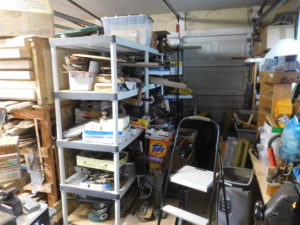
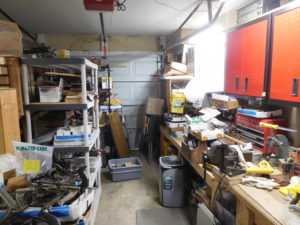
The deep plastic shelves became junk magnets and the dead space of the floor quickly filled with random stuff. It was very fertile ground for a makeover, so I christened it the “North Annex” and began a cleanout. My plan was to get rid of the plastic shelves AND all of the junk they contained. Cleanup proceeded quickly and a more detailed plan developed. Lowes had a sale on Gladiator cabinets and also a closeout on Kobalt tool boxes. I was inspired to cobble them together into a quiet work area and that plan injected enthusiasm into the cleanup.
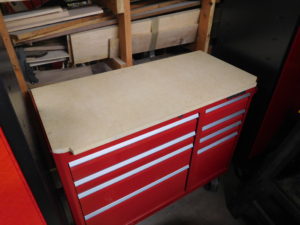
I brought in the Kobalt mobile tool box bottom and outfitted it with a top of 3/4″ MDF.
The plastic shelves sat in front of a wood rack. It is a frame made from 2×4 “H” brackets. I will have to detail its construction sometime as it has been a very nice portable storage system for lumber. Anyway, the new workbench area is in front of this rack and I was able to scab some 2x4s on it to support the upper Gladiator cabinet.
The final plan was to have the Kobalt bench sandwiched between two of the Gladiator 66″ floor cabinets, with a 30″ Gladiator wall cabinet on top of the bench. I made two risers for the bench and painted them black to match the cabinets. The upper cabinet actually is attached to the rear frame so it mostly floats on top of the first riser. I added pegboard to the rear of the riser and ran power through the corner of it for a power strip.
Soon after I moved to town, I purchased a cabinetmakers workbench from a local woodworking buddy who was moving. It was a project of his dads and he was bummed to lose it. But he was happy that it had a welcome home. Dad used Masonite for the top and it was looking tired after these many years. Last fall I bought a box of inexpensive pecan flooring and used it to resurface the bench. It has proved over time to be a durable work surface. My new workbench needed a top and the flooring seemed idea. I began by attaching an oversized piece of 3/4″ plywood to the MDF to provide some overhang. It was the same plywood that I used for the risers so they were all flush with each other. I installed flooring on the bottoms of the two risers and on the benchtop plywood, creating a nice worksurface that is pretty and durable.
The new workbench is installed and anchored firmly but can be broken down and moved quickly. Gravity and some sheetrock screws hold everything in place.

And then I got the bright idea for flooring. Really good plastic flooring is expensive. The Gladiator flooring is about $6 a foot and RaceTrack is about $5. But these floors are popular with car enthusiasts and are made for heavy duty. Since my requirements were for a light duty product, I asked Walmart what they had. My reward was flooring from one of their vendors that came in at about $2 a foot. Yes! My price point. So I measured the area and devised a plan. The floor would be three rows of nine red tiles with a one tile black border. That is a floor of five feet by eleven feet. In addition, I wanted ramp trim on both ends and at the toolbox area.
when the flooring arrived and I went to work. Fortunately most of the items in my shop are on wheels and I could roll things out of the way.
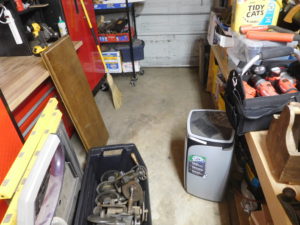
The flooring went down easily. Just start at one corner and fan out. It snapped together with a little persuasion from a rubber mallet.
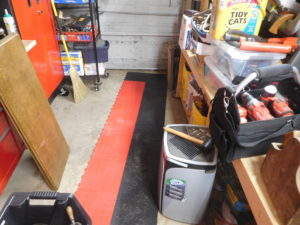
Once it was in place, I could roll the cabinets back over it. Bonus is that everything slides and rolls much easier on plastic than on concrete.
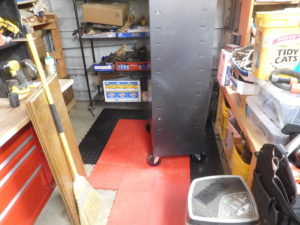
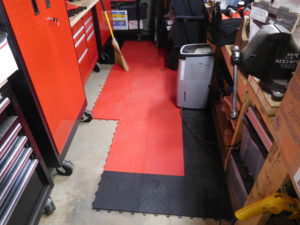
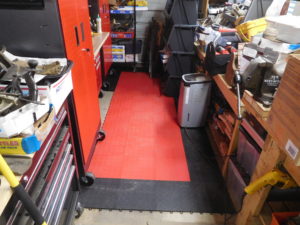
I was very pleased with the finished product. Yes, it is a little noisy. And yes, it does show dust and dirt. But it really adds class to the area and I appreciate the ease of sliding things around on a slick surface.
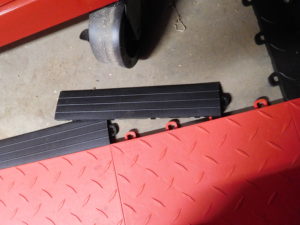
A few days later, the ramp trim arrived.
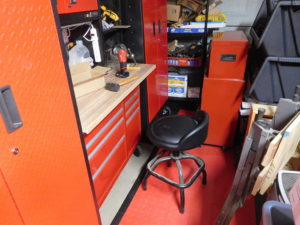
So welcome to the new North Annex, where I have a quiet, desk sized workbench with a comfortable stool. It has already seen a few projects and is a comfortable place to work. The side cabinets are full of organized clutter, the overhead cabinet is empty and the toolbox drawers are filled with clutter. But over time I will organize the clutter and order the storage.
It is nice when the shop cleanout begins to pay dividends.