Let me start off by saying that I really like Japanese chisels. While I was growing up and using my dad’s shop, the chisel selection was spare. He had a set of three Craftsman chisels with their factory edges. I did not find them very useful and my dad was not a sharpening sort. When I struck out on my own after college, I went to Huggins Hardware in Chapel Hill and purchased my first chisel. Money was in short supply and I could afford only one so I chose a nice Stanley #60 3/8″ butt chisel. I had a Norton stone and used it to sharpen this chisel while I carved a mahogany chess set. The chisel and I bonded during that winter time project as I sat on the married student housing porch and chipped away.
Years later I was able to afford more and better chisels but none of them seemed to fit my hand right. Then one day I acquired a few Japanese chisels. Whoa! Those guys were just like the familiar #60 and I fell in love. From that moment on I was a Japanese chisel user. They are my go to tools but do require a little set up.
Here are a few notes on hoop setting. The chisels have small handles, traditionally made from oak branches, that are capped off with an iron hoop. Metal hammers are the preferred way of using these chisels and the hoops prevent end splintering. Some users like to set the hoops shallow and even with the end, while some users like to set them deep and mushroom the end over the hoop. I like the mushroomed top because it prevents the clang of metal on metal. You can adapt these instructions to suit your preference.
When the chisels arrive, they might have sealer that was applied at the factory. This sealer must be removed. Sometimes it comes off easily and sometimes you have to saw the end of the handle to expose the grain. Get started by removing the hoop and cleaning off the end.
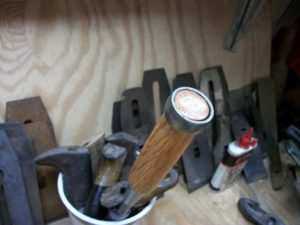
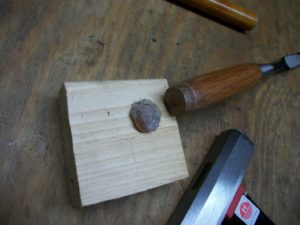
The next step is to check the hoop. It is made with a small end (top) and a slightly larger end (body). You may have to file it to remove burrs. Remember that the large end goes on the body side when you install it.
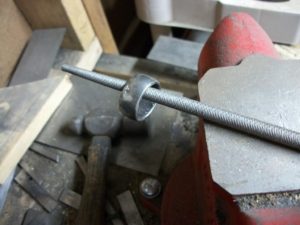
Then you have to slightly compress the wood fibers on the end of the handle. I use a ball pein hammer and an anvil.

Check your work frequently and stop when the hoop goes far enough for your preference. I put the chisel body in a vise and use a block of wood to hammer the hoop down.
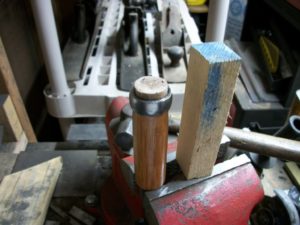
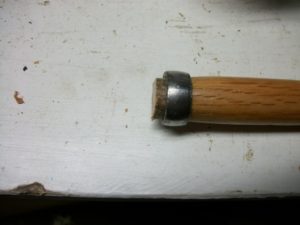
Once the hoop is set in place, soak it in a 50-50 solution of turpentine and boiled linseed oil (BLO). Overnight should do it. When you return in the morning, you should notice that the wood that you compressed with the hammer has now expanded back to normal and the hoop is tight. At this point, you put the chisel tip on a block of scrap wood and carefully mushroom the top by striking the edges diagonally with your chisel hammer.
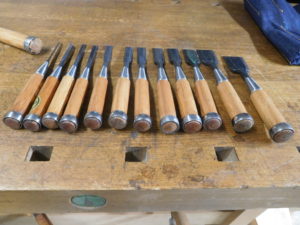
If your chisels get heavy use, their hoops will need attention over time. If the hoop is loose, soak it again. If the mushroomed wood splinters off, square off the top and reset the hoop. Resetting can be done many times until the handle gets too small to hold. Then it is a simple job to make a new handle.
Good luck with your Japanese chisels.