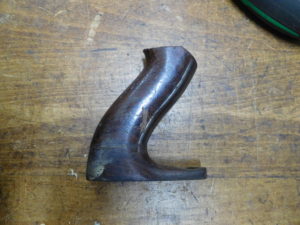
My Facebook buddy, Nick, found this #4 1/2 smoother and offered it for sale. It looked OK but needed a little love. He assured me that the mouth was not cracked–a common affliction in #4 1/2 planes of this era. So we struck a deal and a few days later Mr Mailman dropped a carefully wrapped box of plane pieces on my doorstep.
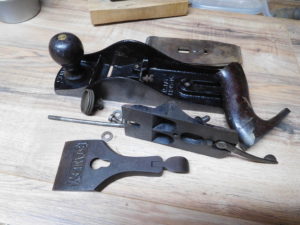
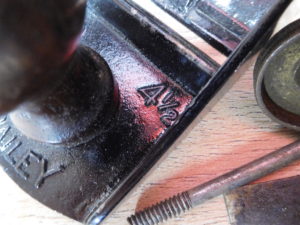
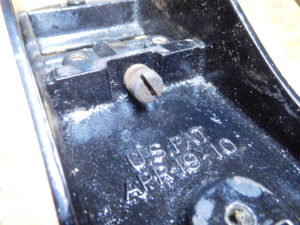
The initial assessment found a pretty solid type 13 made from 1925-1928. This was during the Stanley Sweetheart era (1920-1934) which was known for high quality products. All adjustment features were added by that time and the basic design was frozen for years to come. This plane had been cared for and had little rust. At some point some previous owner repainted the bed. Even with the minor overspray I give the job a B+. A check of parts showed only one missing piece–toe screw for the tote. Luckily I have some of those in the boneyard. Experience tells me that every vintage plane has issues. True to form, this plane did not disappoint. The two glaring issues are with blade and tote. The mostly used up blade had been abused by hammering and poor edge treatment. The good news is that a consumed blade is a good indicator of a nice user plane that saw lots of use because it worked well. Even so, I think I can salvage it and put it back to work. At least it is simple to fix. As for the tote, it was missing its horn. More on that later.
Now that the assessment is over, it is time to get started on treatment. Although I sometimes use citric acid or Evaporust for derusting, this plane is just dirty with light rust staining. For easy jobs like this my usual cleaning products are Simple Green and paper towels or old tee shirt rags. Brown stain rust gets a mild steel brushing. Other surfaces are cleaned with Simple Green and then polished with Scotchbrite pads. I keep a pocketknife handy and use it as a scraper. On this plane, the frog mating surfaces were rusty and had some paint overspray. I pay special attention to those areas and clean down to the original machine marks. Frog mating is important and the solid surfaces prevent chattering. In addition, debris on the mating surfaces can lead to overtightening and then cracking. So the bed and frog both got a good cleaning while the screws got brushed and lightly oiled.
The Sole
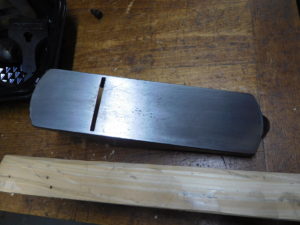
The sole was in nice shape but had some surface rust and staining. Scotchbrite pads and gentle sanding removed all of the mess. Here is the before.
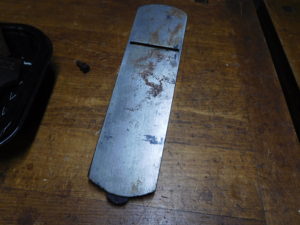
And here is the after.
The Blade
This Sweetheart blade needed special attention.
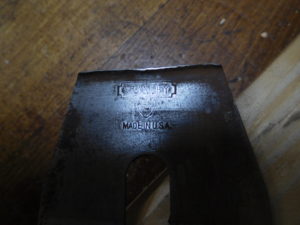
I started with the boogered up end–it’s HAMMER TIME! A few minutes of pounding on the anvil mashed everything back into shape.
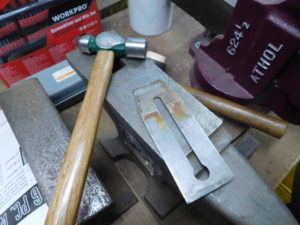
After flattening, I used a file to smooth the edges and then went into my grinding room. This blade seemed too acute. Stanley bench plane blades are high carbon steel of moderate hardness which are optimized for carpenters. Carpenters needed something that was easy to sharpen on the job site. I often make replacement blades to improve performance. Stanley blades are 1/16″ and mine are 3/32″ or 50% thicker. It makes a difference. In addition, I heat treat high carbon O-1 steel to RC-58-60. That is harder than the Stanley blades and results in a blade that stays sharp longer.
As long as we are on blades, we need to know grinding angles. My woodworking world is simple–25 degrees for softer woods like pine and fir and then 30 degrees for hardwoods like walnut and maple. As a general rule, almost all of my plane blades are 30 degrees because I am lazy. The performance is just fine for me and using the same angle speeds up sharpening and honing. This blade gauged out at 20 degrees. OUCH! No good for a Stanley blade. That is too thin at the edge and leads to deformities. And yes, the edge shows deformities. In addition, it shows a high and uneven camber.
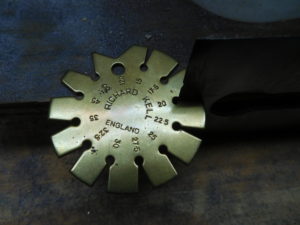
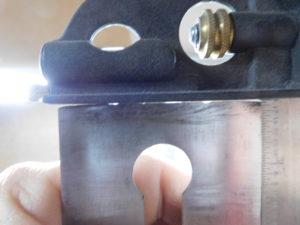
The first task is to remove the deformities and relieve some of the camber. The proper method is to grind the edge at a 90 degree angle. There are several reasons for this. One reason is that I have a coarse Norton white wheel for rapid removal and a fine pink wheel for grinding bevels. Doing the rough work on the white wheel means less dressing on the fine wheel. Another reason is that grinding a bevel over a bevel can create a wide wire that makes it hard to see if you have ground out the defects properly. And lastly, grinding to remove defects removes lots of stock and heats up the edge. Heating up the thin edge can lead to loss of temper. So grind out defects at 90 degrees and then restore the bevel to that good edge.
After grinding, the edge of the blade showed two bevels–a large one at 20 degrees and a smaller one at 30 degrees. Yes, it looks a little funny, but there is no need to grind away more than we need on this length challenged blade. And more importantly, I am lazy. Some people use jigs for honing and some do it freehand while using the primary bevel as a guide. Having sharpened thousands of edges, I have muscle memory for my familiar 30 degree bevel.
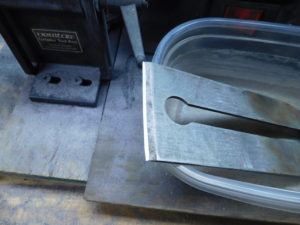
Now that grinding is out of the way, it is time to adjourn to the sharpening bench. I use AO (aluminum oxide) sandpaper on a marble floor tile and begin with 220 grit.
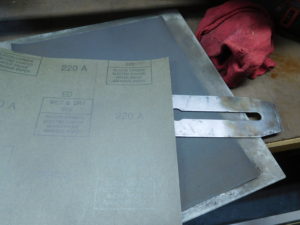
It is a simple process to just drag the blade backwards at a 30 degree angle. Three or four swipes does it. Then I flip and polish the reverse flat with side by side strokes. If I did a good job at the grinder the whole process takes less than a minute and I can move on to the fine paper. It is 600 grit.
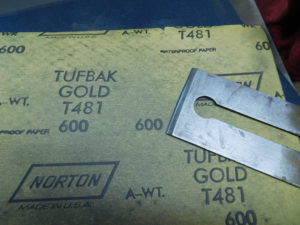
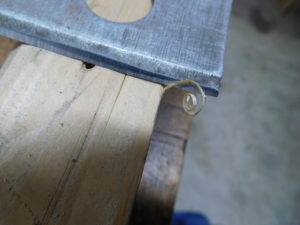
On the fine paper, I use the same process and polish the bevel. After less than a minute, the edge is shiny and sharp enough to shave hairs. Or in this case, remove a thin shaving.
Reassembly
I applied light 3 in 1 oil on the screw threads and put everything back together. I adjusted the frog even with the sole. That is a good compromise position that works well for me. I tightened the frog but not tight enough to crack the casting. No need to overdo it. An important overlooked adjustment is the lever cap screw. It should move easily with your thumbnail and should be just tight enough to hold everything in place when the lever cap is snapped. If the lever cap requires too much force to open, then the lever cap frog screw is too tight and blade adjustments will be poor. Remember that a properly adjusted bench plane with a sharp blade will just cruise through the wood and make light, wispy shavings. Overtightening screws can lead to poor blade adjustments and even broken parts.
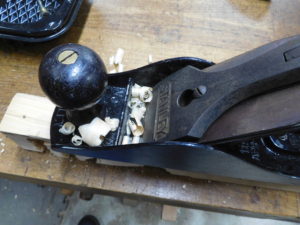
I tried the plane with out the tote just to see how it worked and I was pleased. It pulled nice shavings from a piece of 2×4 construction lumber. This was an easy job with the total rehab investment so far sitting at about 90 minutes.
Part 2 of this journey will detail the tote repair. That work is not very hard but it is time consuming and will take about a week. Stay tuned.
