Sometimes life gets in the way and things take longer that once thought. Thus is the case with this posting. I finished the plane work quickly but never got around to posting the followup on tote repair. Hot Florida weather forced me to work on inside projects and I was occupied cleaning out a bedroom full of junk. The cleanout led to a full paint job and that led to a full paint job on bedroom #2. I already had bedroom #3 on the list before I temporarily cancelled the madness and got back to handplanes and posting pictures.
So on to the tote repair. When last seen, its horn was missing. Now I have repaired lots of these. It is a common injury because the grain at that point is not strong AND the horn tip is in a very exposed area. One trip to the floor and the tote is probably toast–especially the horn.
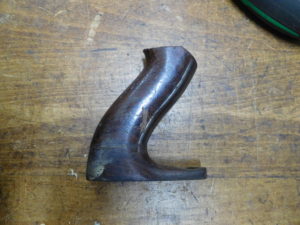
But how about wood selection? I have repaired totes with genuine period rosewood. It is hard to find and I am allergic to it. In addition, rosewood to rosewood does not accept glue very well. For tiny cracks and missing shards, rosewood is my go to because it blends well. But I like good ole American walnut for horn repairs. It is plentiful, glues to rosewood well, is easy to shape and takes a good finish. Using Minwax Special Walnut stain and sometimes adding Minwax Mahogany for red. At a distance everything blends well but close inspection shows an honest repair.
The first step is to use a handplane and make the irregular break surface flat.
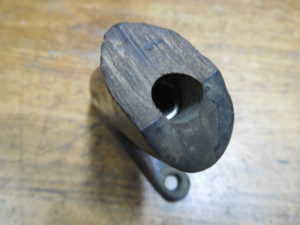
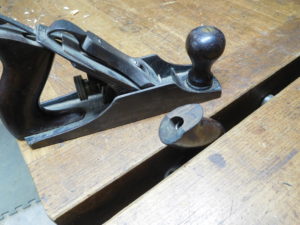
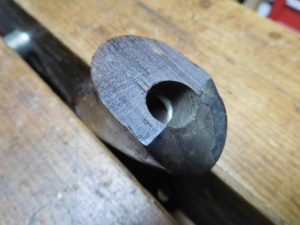
Then I find a nice piece of 5/4 walnut and a full sized tote to use as a pattern. Stanley changed the shape over time so the pattern should be from a time close to your tote that needs repair. I use the pattern and outline the missing piece with chalk, cut it with the banksaw and then glue it to the patient.
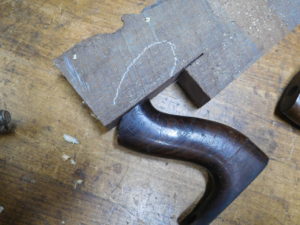
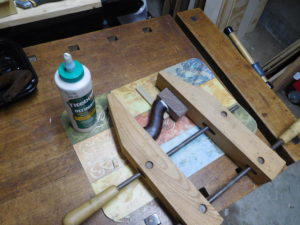
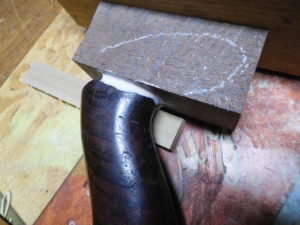
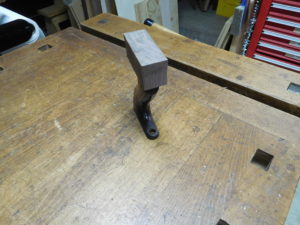
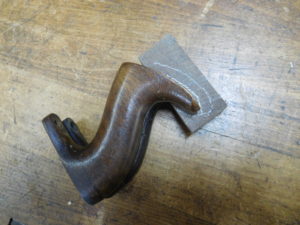
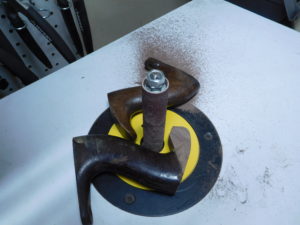
The next step is to shape the tote by removing excess repair stock. Sometimes I use a coping saw to cut off excess wood. Then I adjourn to the oscillating spindle sander.
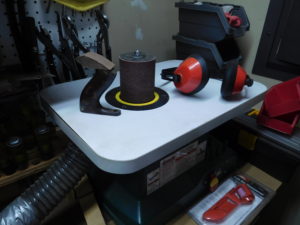
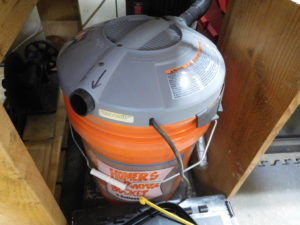
There is lots of dust and I dedicated a bucket vacuum to it. I also dedicated a pair of ear muffs.
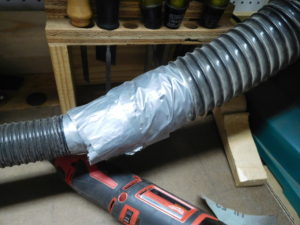
Gasket material is “redneck aluminum.
It usually takes about an hour with a few spindle changes thrown in. I just sand away and compare the workpiece to the pattern tote. After a while the repaired tote seems to emerge.
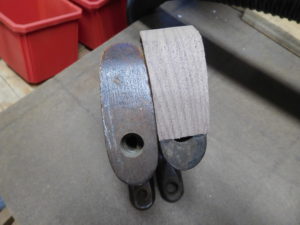
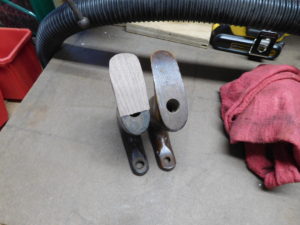
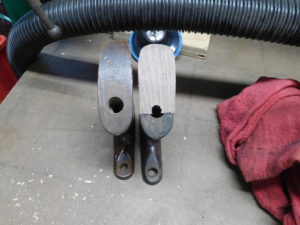
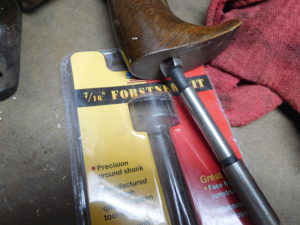
Sometimes the horn repair covers all or some of the tote nut hole. In that case, it needs to be carefully drilled out. I have a dedicated Forsner bit for that purpose.
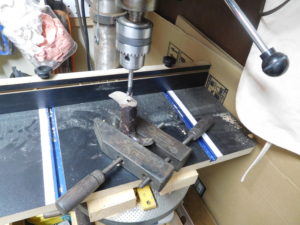
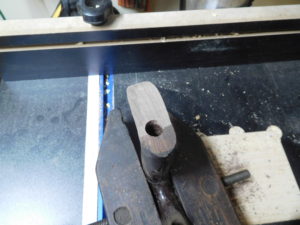
So now we have a repaired tote with the proper nut countersink. I use sandpaper to strip the tote and do the final smoothing.
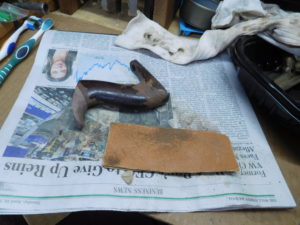
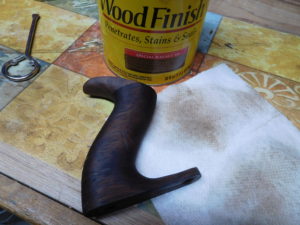
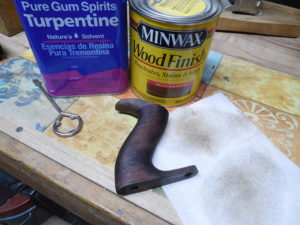
And then stain the new wood. Sometimes a few coats are necessary to achieve a good match.
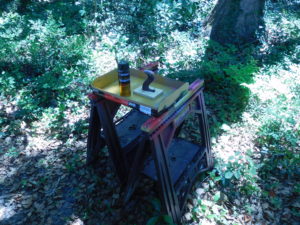
And then it is off to the spray booth for a few coats of satin poly.
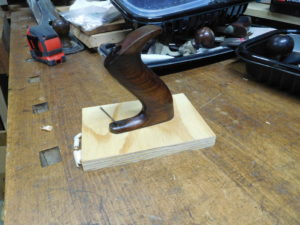
Tote is ready to go back to work.
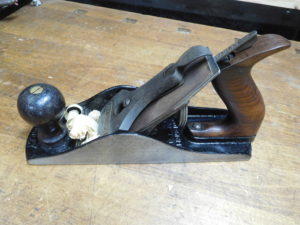
One might wonder if this repair is worth the time and effort. My answer is an emphatic, “YES”! Precision plane work requires strength and effort. The user’s thumb web is hooked by the tote horn and that helps keep the hand steady when pushing. I have used many planes without horns and always resolve to fix them as soon as possible because the tote horn just makes everything easier. So I encourage all of my woodworking buddies to fix their totes. Start learning with a beater plane and don’t be afraid to shear it off and do it again. Once you have a few tote horn repairs under your belt, you will probably have proficiency on your side. Good luck.